'Ello Everyone! On Saturday I said if anyone wanted an Olaf tutorial comment about it, and some one did!
First you will need:
- One bag of orange Crayola air dry clay
- One bag of black Creatolgy clay
- One bag of white Creatolgy clay
- One X-Acto knife (This is optional.)
Your supplies.
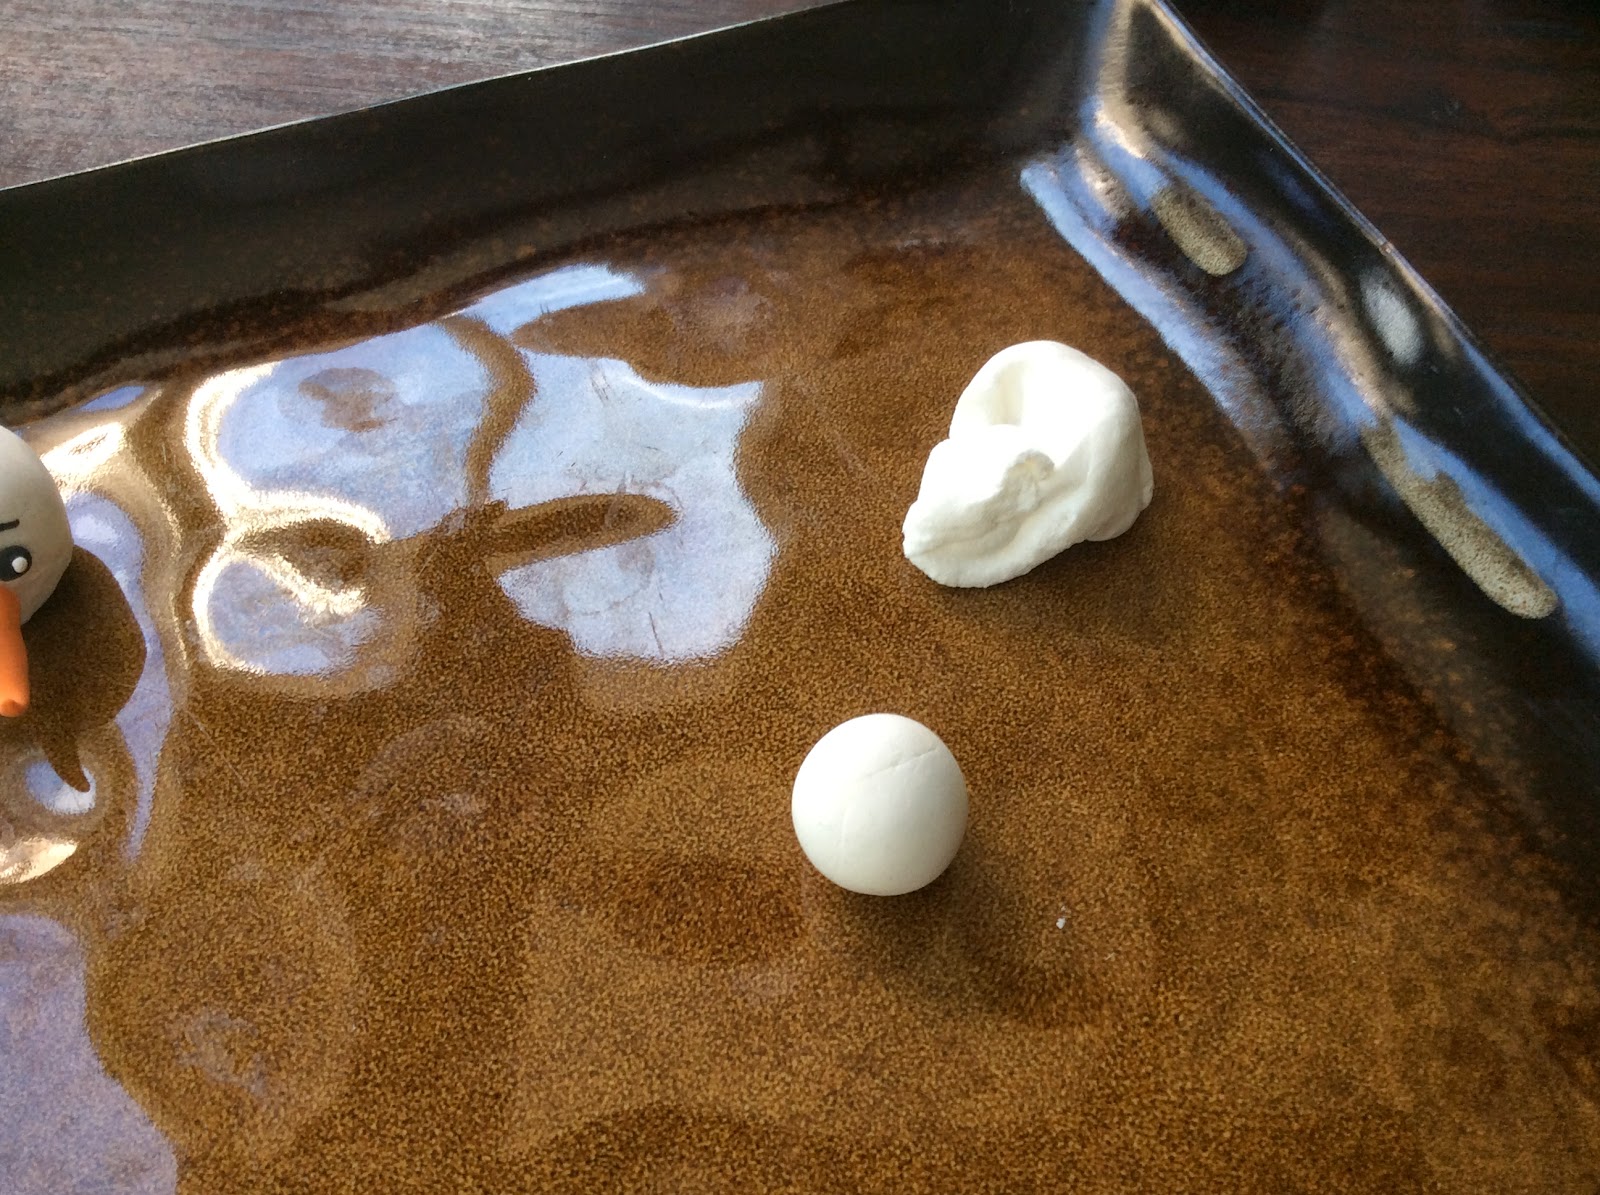
First, take a piece of white clay and roll it into a ball.
Then, find where you want the front of the head and push the sides of the ball. This ball is the head.
Take a very small chunk of black clay and divide it into two pieces.
Then, roll the two halves each into a small ball.
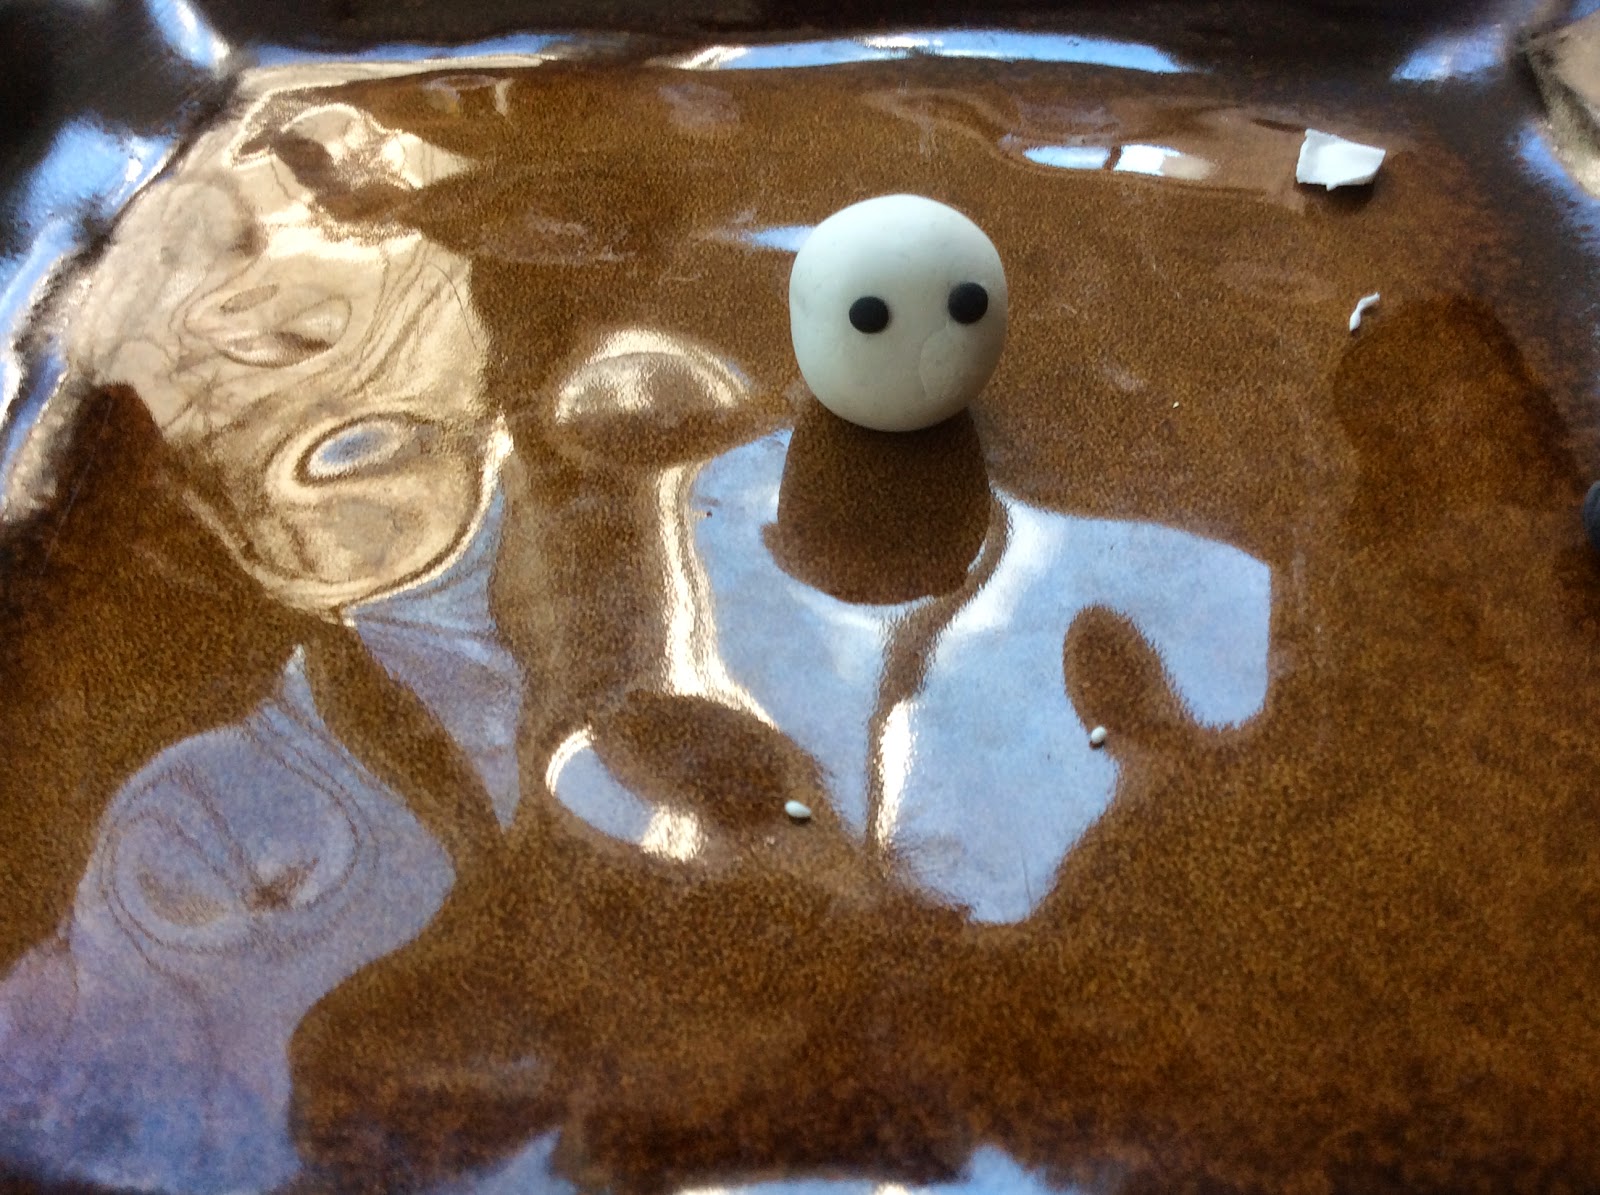
Next, attach the two small ball to the head by pushing down with your finger.
Roll two more very small pieces of white clay into ball that are smaller then the black balls.
Push a white ball into the upper corner of the black circles.
Pull another chunk of white clay out and roll it into a ball.
Squish the ball flat with you thumb.
Cut the clay so that you have a rectangular cutout. Remember, this is going to be a mouth.
Pull away the other cut pieces.
Stick the cutout to Olaf's face, but DON'T completely stick it to his face.
Roll and flatten another ball.
Cut a very small rectangular piece of clay that is half the size of the mouth cutout.
Lay Olafs 'teeth' under the mouth cutout.
Push down the sides and top of the mouth. It helps if you use the tip of your X-Acto knife to smooth the sides down.
Roll out another chunk of orange clay.
Roll out the orange ball so one end is small, like a cone. Cut the smaller portion of the cone.
Use your X-Acto knife to crarve a smile. Basically just two curving lines starting at his teeth.
Roll a black ball and start to roll it into a tiny line.
Then cut the two larger ends off.
Curve one cut half. This is an eyebrow.
Stick it to his face again!
Roll out two more balls to make a long line. Cut as many lines as you want.
Give Olaf some hair! Stick the ends of the lines on his head.
Make another white, clay ball.
Squish the bottom and top to make it easier to attach the head and other sections of his body.
Do the same as you did before, but this time when you make a ball,make it slightly larger.
Make a black ball the size of a Rolly Polly or Pill bug. This will be a button.
Craft two more. Then push on the buttons
Roll out a noodle of black clay. This is a arm.
Cut the clay noodle in half.
Roll and cut bits of clay for fingers.
Stick the fingers on Olaf's arm.
Hope you enjoyed this tutorial!
Bye!
Zoë


Awesome Tutorial.....Will have to make a Olaf soon myself!
ReplyDeleteGreat job :)
Loved this! He is so cute! :)
ReplyDelete~ Mint
Thanks both of you! Do you guys like tutorials?
DeleteBye!,
Zoë
Yep, tutorials are great!
Delete~ Mint